
19 App Integration
What are Integrations?
Integrations connect Induct For Work to the other apps your business uses. Zapier links us to thousands of apps without any code. The API and the sign-in webhook send your online induction results and site sign-ins straight to your own systems. You can also import inductions people finished in another system, so their records live in one place.
Rules to know
- Who: only the Account owner and Administration Users see Integrations.
- Zapier: on Team, Team Plus, Team Pro, Enterprise and the free trial. Not on Lite. In Zapier, connect with a login of Site Manager or above.
- API and sign-in webhook: on Enterprise and the free trial. On other plans the settings are greyed out.
- Secure addresses only: every URL must start with https:// and point to a public server. Private network addresses are refused.
- When results are sent: once someone passes an induction and their certificate is ready, we send the record’s ID, invite ID and status to your Callback URL.
- Sign-in webhook: fires when someone signs in, signs out, or an admin signs them out. Save a Callback URL on API Integration Settings first.
- Photo links: the photo and logo links in a sign-in message stop working after 15 minutes.
- Retries: if your server doesn’t answer, we try again up to 3 more times.
- Pausing: ticking Archive this integration stops both the results and the sign-in messages.
- Passwords stay hidden: saved Authentication Data shows as dots. To change it, type the whole value again.
- Import plans: importing past inductions is on Team, Team Plus, Team Pro, Enterprise and the free trial. Not on Lite.
- Importing past inductions: each row needs a first name, a last name, an email or phone number, and a valid completion date. Other rows are skipped. Files can be up to 1 MB.
- Only new people: people already in your list (same email or phone) are left as they are. Each new person gets a passed record and certificate for each induction you pick, dated the completion date. Nobody is emailed.
- Inductions you can use: if you pick an induction you don’t have access to, nothing is imported.
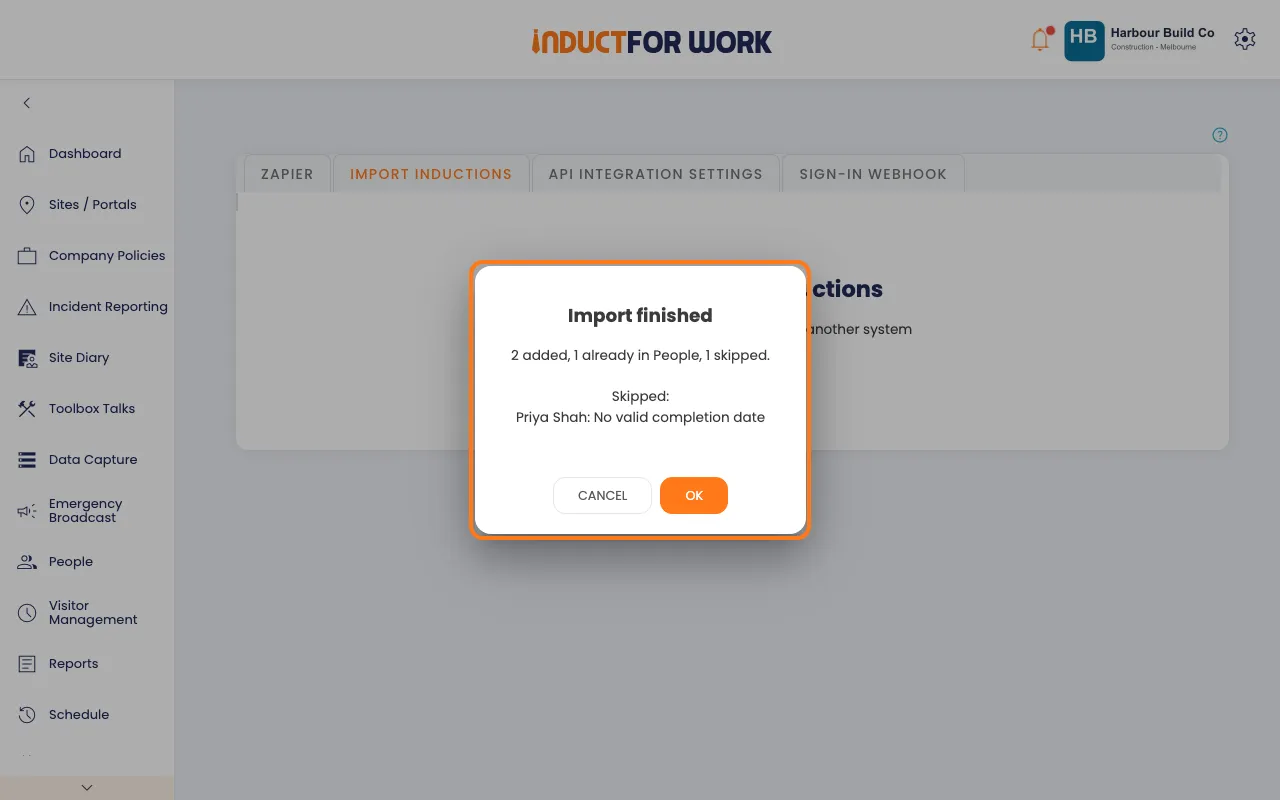
- Summary: when it’s done, you see how many people were added, were already in People, or were skipped, and why.
What you’ll need
- An Account owner or Administration User login.
- For Zapier: a Zapier account (you can sign up for one free).
- For the API or webhook: the web address of your own system, from your IT team or developer.
- To import past inductions: a .csv file with names, emails or mobiles, and the date each person finished.
Connect Zapier
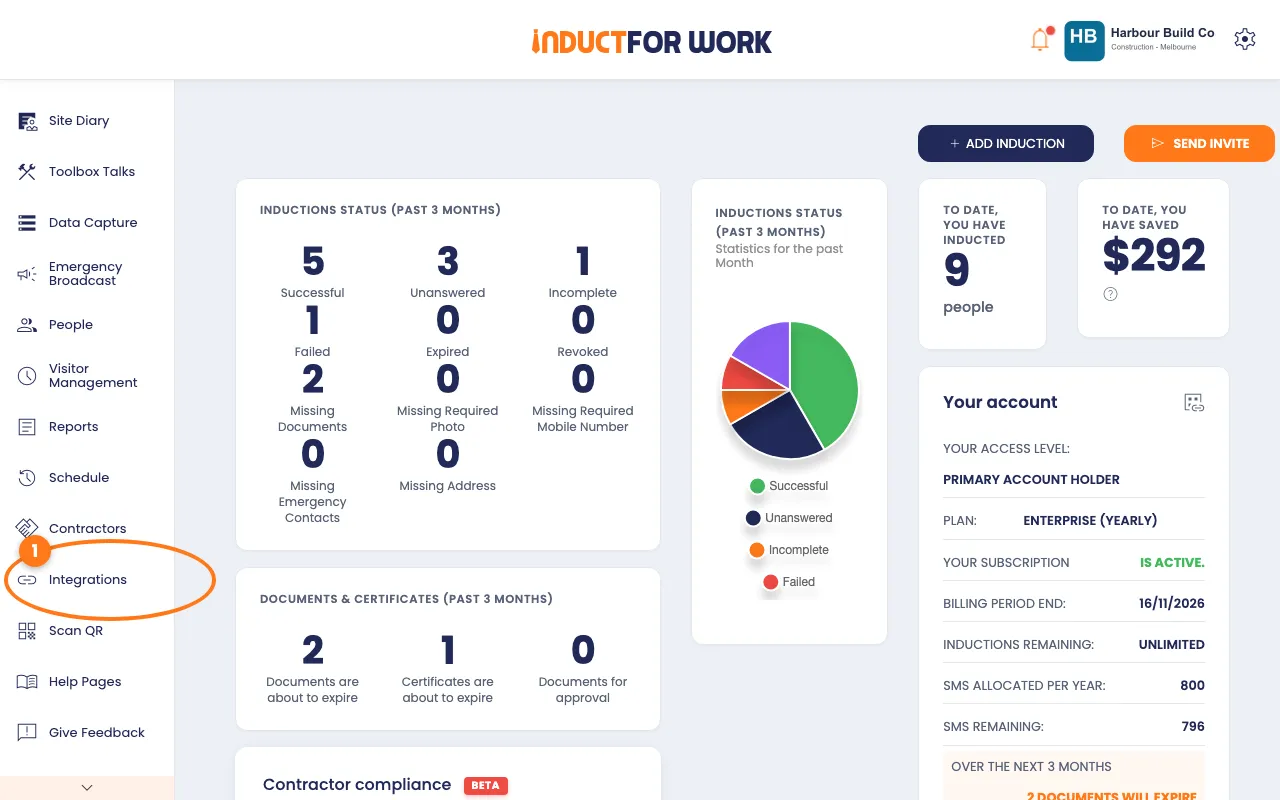
- In the left menu, click Integrations.
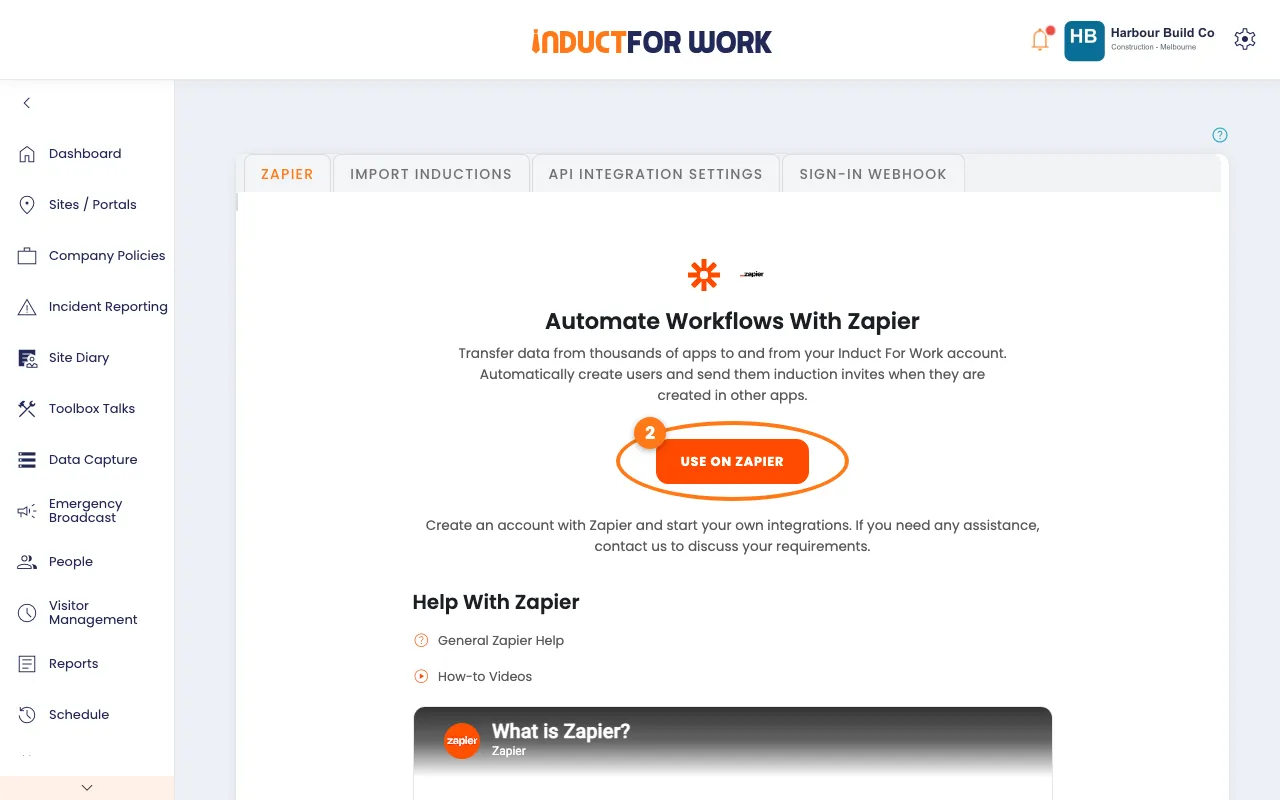
- On the Zapier tab, click the orange Use On Zapier button.
- Log in to Zapier, or sign up for a Zapier account.
- Accept the Induct For Work invite.
- Create a Zap. When Zapier asks, log in with your Induct For Work admin login.
With Zapier you can:
- start a Zap when a person is added, passes an induction, signs in or signs out;
- save a passed induction’s certificate to another app, such as cloud storage;
- add a person to People;
- send a person an induction invite.
New to Zapier? The General Zapier Help and How-to Videos links on the same tab open Zapier’s own help.
Import past inductions
Use this when people finished an induction before you used Induct For Work.
- Click the Import inductions tab.
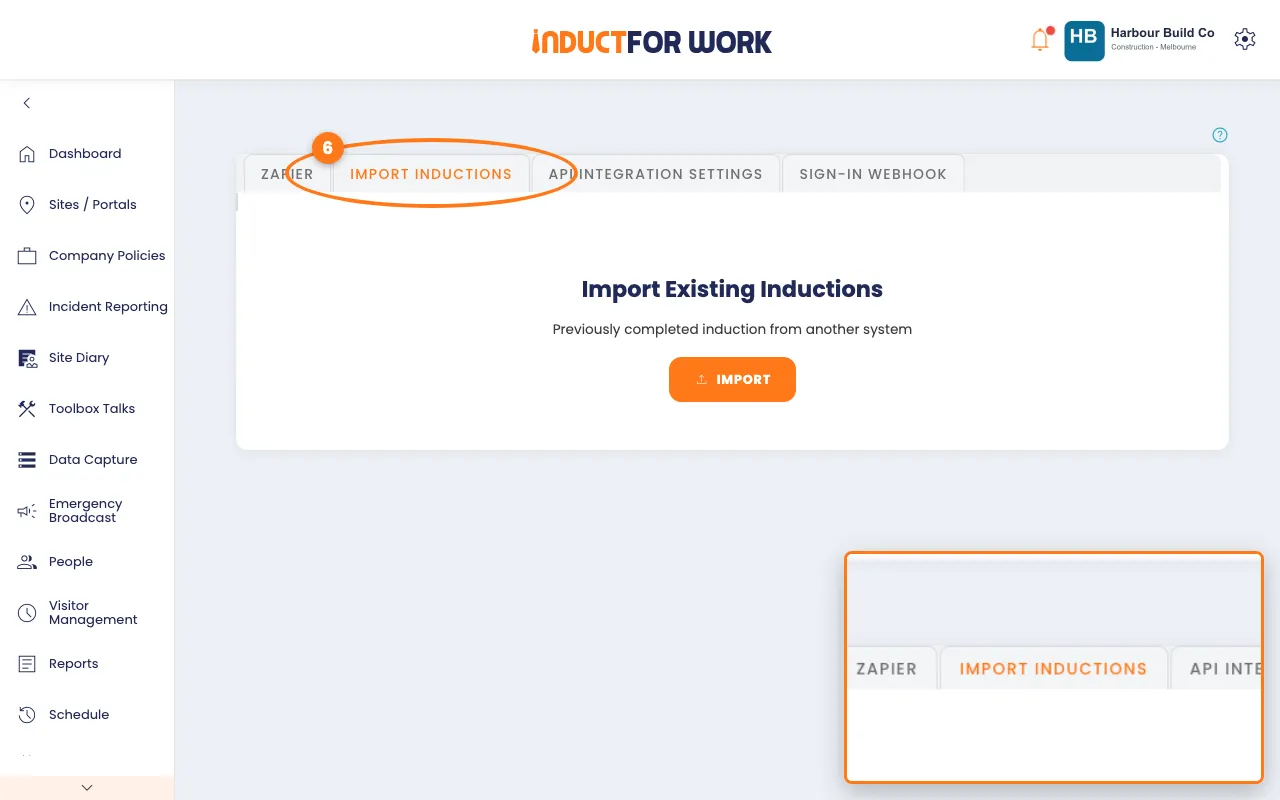
- Click the orange Import button.
- Under Step 1: Upload File, click the orange upload button and pick your .csv file.
- Under Step 2: Select inductions, search for and pick each induction they finished.
- Click Next.
- Under Step 3: Mapping, pick the matching column for each field, including Induction Completed On.
- Click the orange Import button.
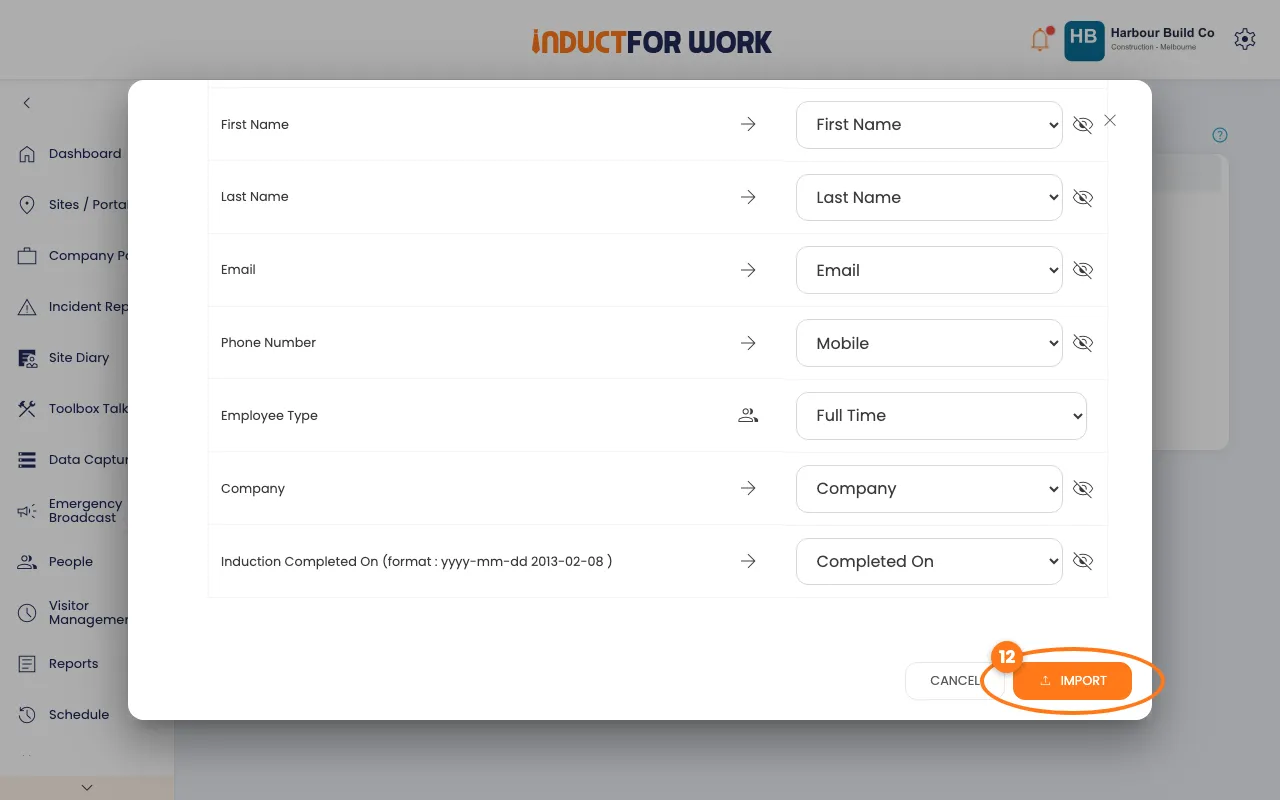
Import stays greyed out until Induction Completed On has a column. Dates must be written year-month-day, for example 2026-02-08.
When it’s done, you see how many people were added, were already in People, or were skipped. If any rows were skipped, an Import finished box lists each one with the reason, such as "No valid completion date".
Send results to your own system
You need Enterprise. Ask your IT team or developer for the details to type in.
- Click the API Integration Settings tab.
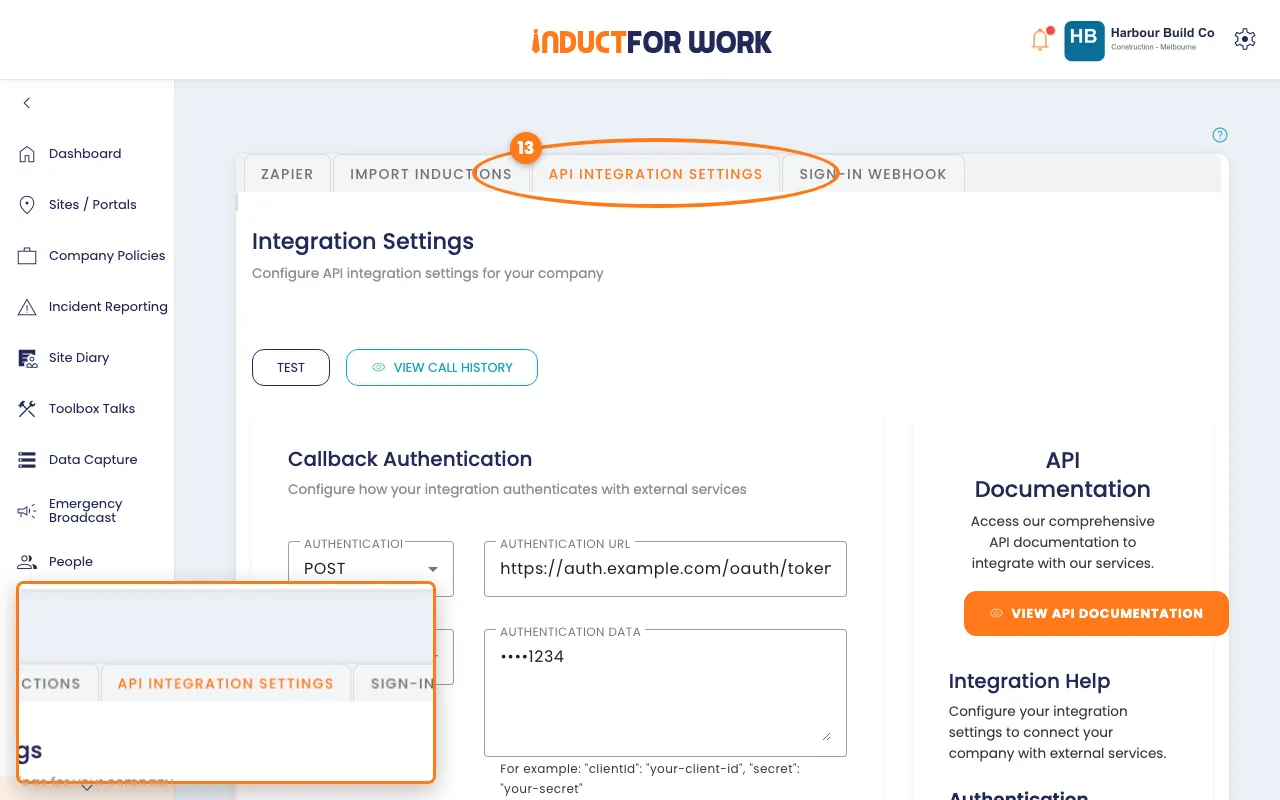
- Optional: under Callback Authentication, type your Authentication URL and Authentication Data.
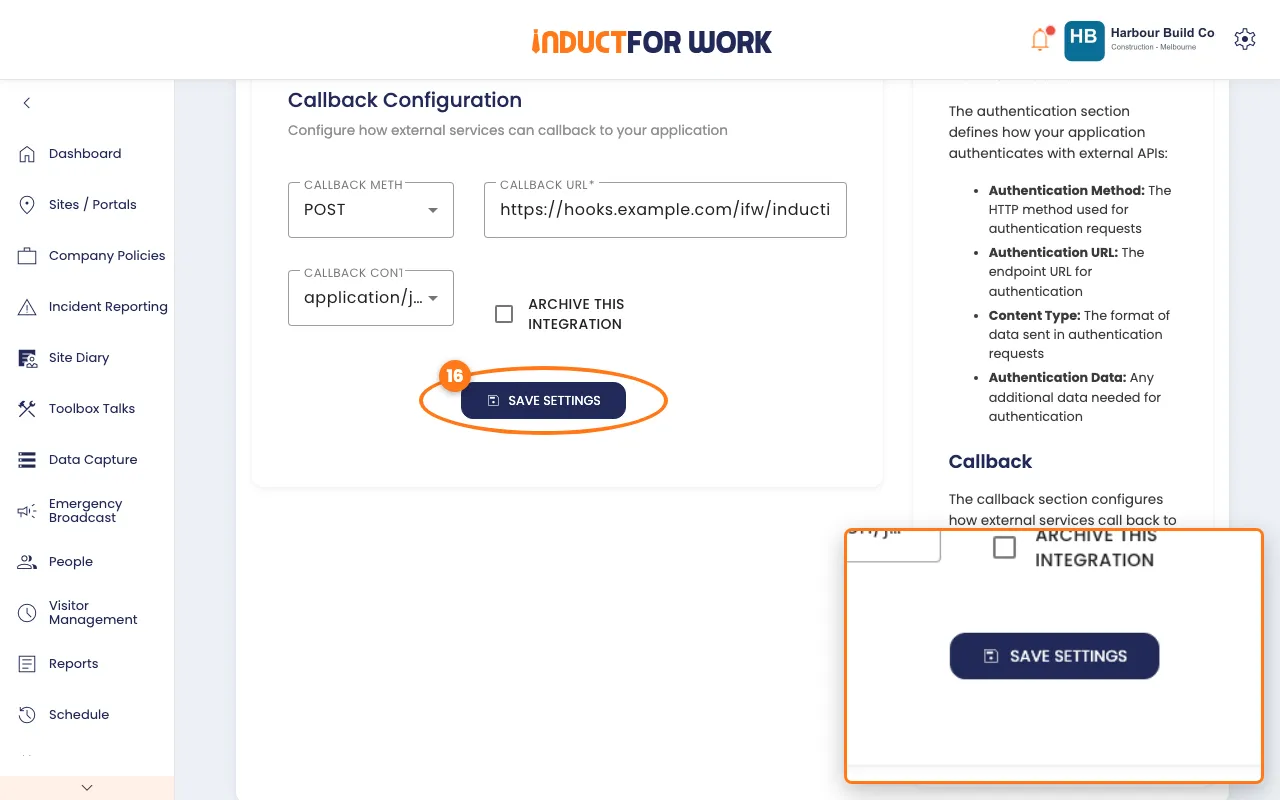
- Under Callback Configuration, pick a Callback Method and type your Callback URL.
- Click the navy Save Settings button.
- Click Test to send a sample record to your Callback URL.
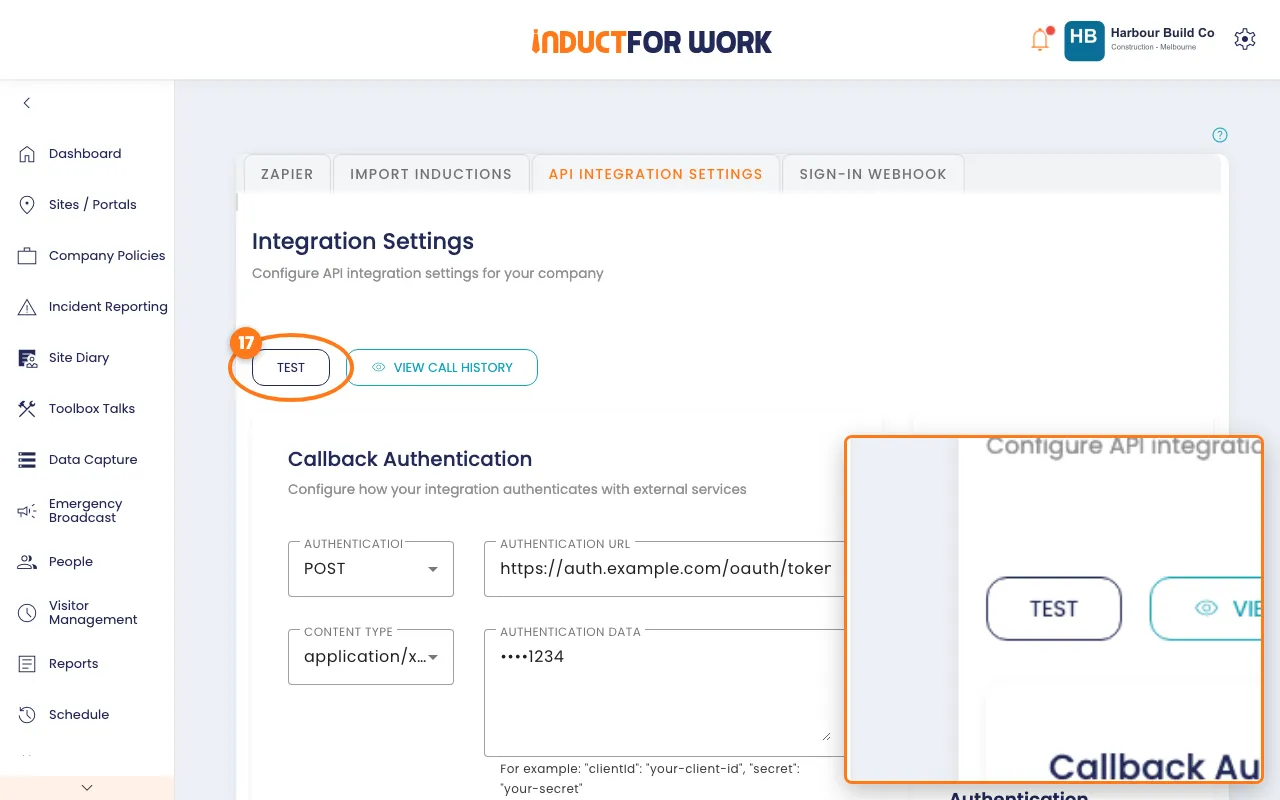
The test sends a made-up record with the status "Failed". Click View Call History to see every call we’ve made and the answer your system gave.
Developers: click the orange View API Documentation button for every API call. The API lets your system read people, inductions, results and sign-ins, add people and send invites.
Send sign-ins to your own system
- Click the Sign-In Webhook tab.
- Under Sign-In Callback Configuration, pick a Callback Method and type your Callback URL.
- Optional: under Sign-In Webhook Authentication, fill in the token details your system needs.
- Click the navy Save Settings button.
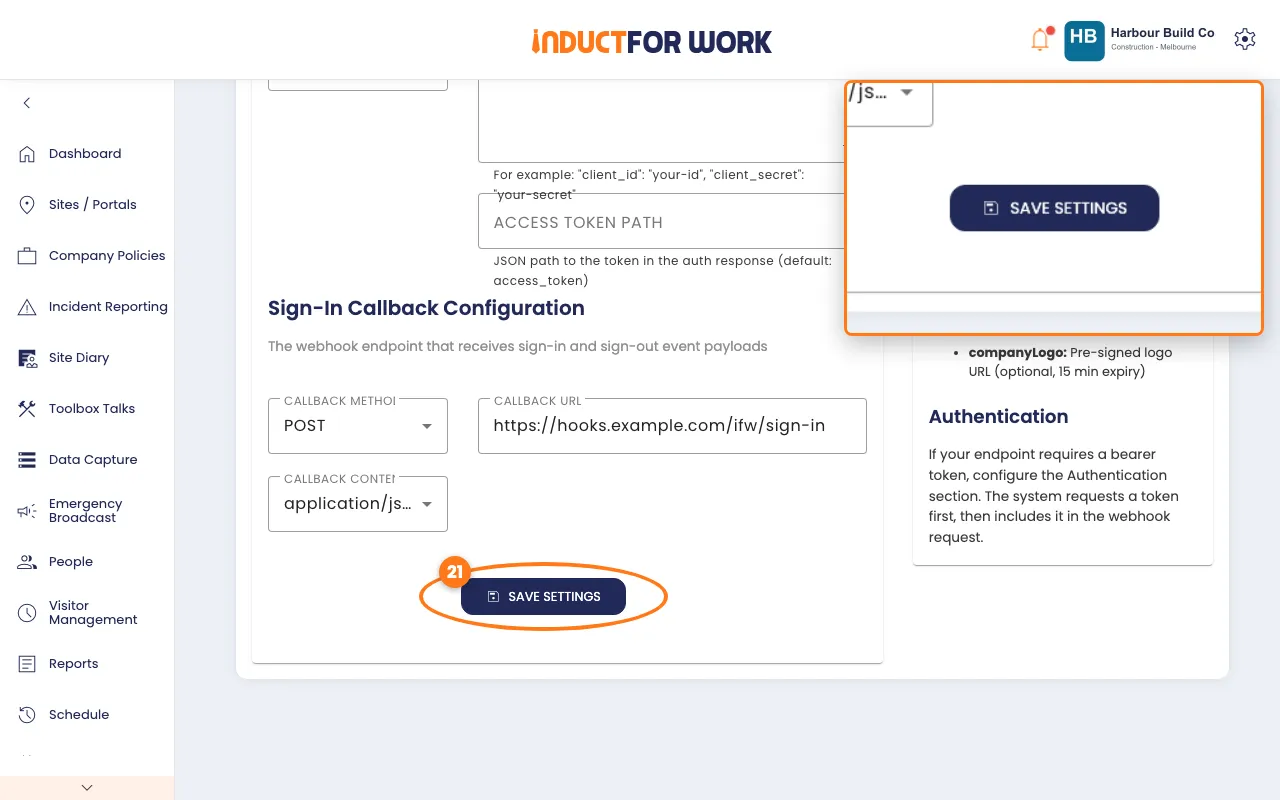
Each sign-in sends the person’s first and last name, their company, the time, the sign-in type (such as Visitor or Contractor), and a link to their photo.
Done! What happens next
- Zapier runs your Zaps as soon as you switch them on in Zapier.
- Your system gets a message each time someone passes an induction or signs in or out at your sites.
- Imported people show on the People page with their past inductions. See People.