- Solutions
PRE-EMPLOYMENT
INDUCTION
COMPLIANCE
OTHER FEATURES
- Instant Demo
- Pricing
- Contact
- Resources
When your logo is added it is displayed on your user Portal, Certificates of Completion, Sign in/out and in Incident Reporting Kiosks (when activated).
To add your logo Click on ‘Gears’ icon, found at the top right corner.
From the drop down menu select ‘Settings’.
Click on ‘UPLOAD IMAGE’ and select an image you would like to use.
If the logo appears to have a black background, try changing the image with a different file extension.
From this area you can also update other Company Details such as Company Name, Address and Industry.
Once updated click ‘Save’.
You might have noticed there are other settings such as: Advanced, Induction, Security and Account Summary.
Let’s have a look at them all, starting with Advanced Settings.
Let’s go ahead and click on ‘Advanced Settings‘.
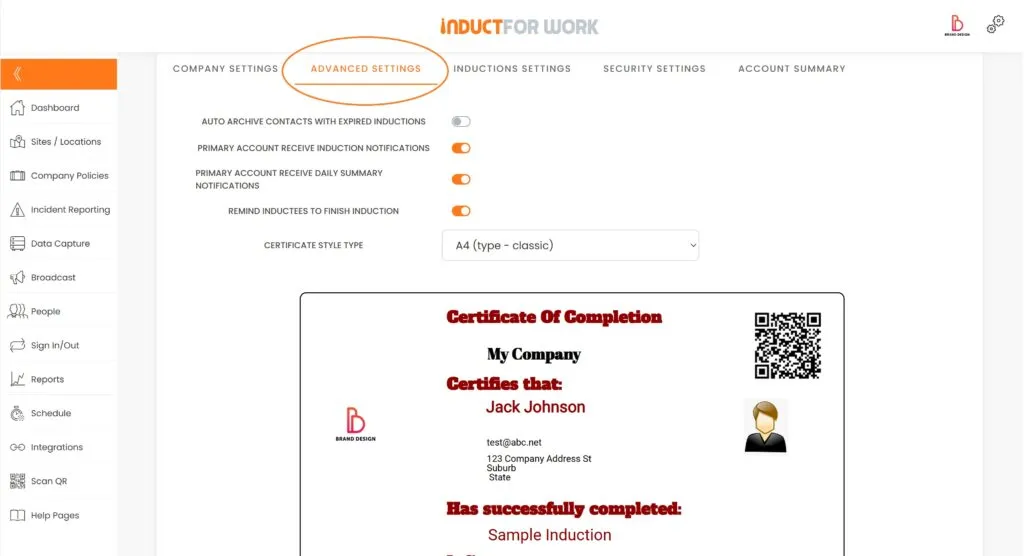
You will see a number of further options. Let’s have a closer look.
When activated this function will automatically archive all user profiles when their online inductions expire. By defailt this function is in OFF position

If you are a Primary Admin, you can turn your Induction Notifications On and OFF. By default this function is ON.

Again if you are a Primary Admin, you can turn your Daily Summaries ON or OFF. By default this function is ON.

Reminders to your inductees can be automatically sent if they don’t start their inductions. By default this function is ON.

There are a number of Certificate templates you can choose from but if you would like to create your own design click on “Custom” and then “OPEN CERTIFICATE DESIGNER”.


Up to 3 Custom fields can be added to your User Profiles such as Employer ID number or Contract Number.

User profiles can be set to a Standard set of Employment types but you can also create your own Employment Types and add it to the list.
Click ‘SAVE’ once any changes have been made.
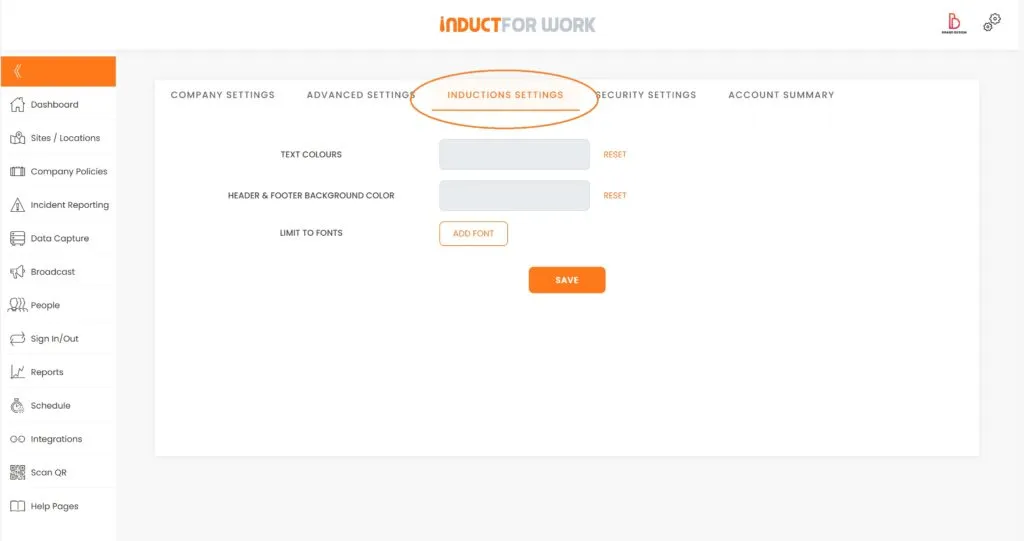
Now let’s Let’s go ahead and look at ‘Induction Settings‘. Here you can change colour of induction text, header and footer.
Next up is ‘Security Settings‘.
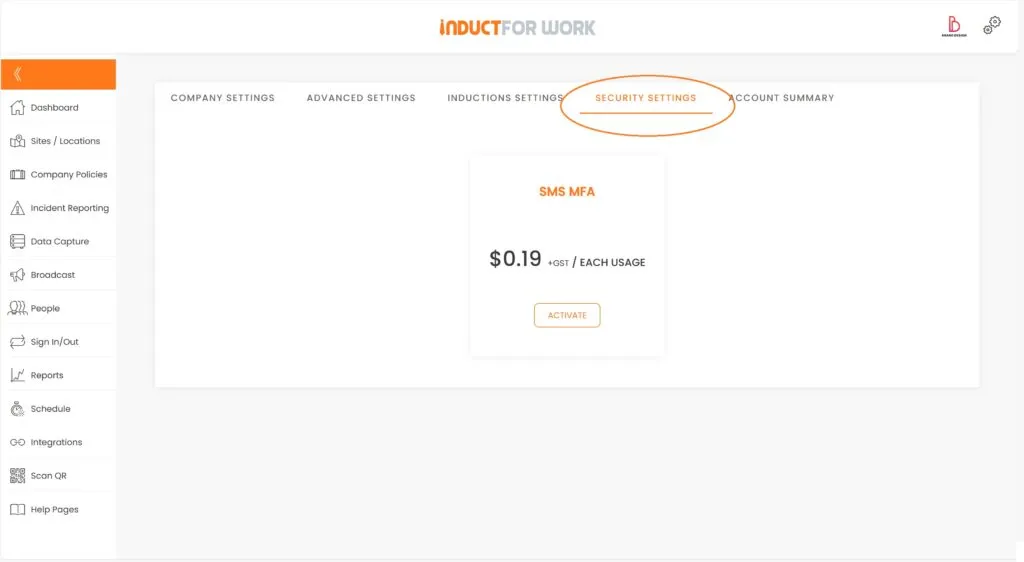
Here you can activate optional SMS MFA for your admin users.
Multi-factor authentication (MFA) is a security technology that involves multiple methods of authentication when verifying a user’s identity for a login. It is an electronic authentication method in which your admin is granted access to Induct For Work only after successfully presenting two factors of evidence to an authentication mechanism.
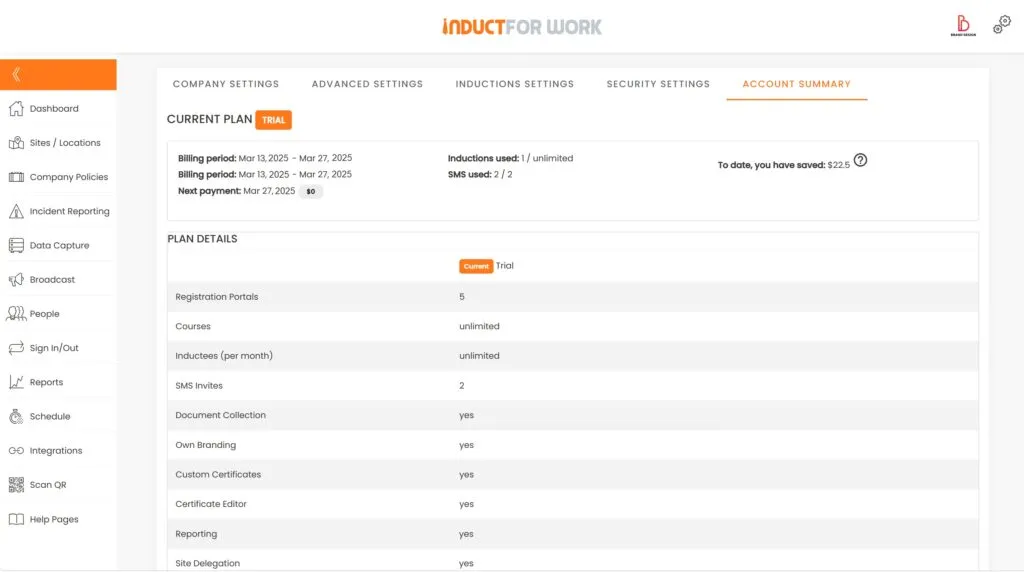
And the last option is ‘Acount Summary’ which displays what is included in your plan.
This brings us to the end of session #2 on Logo and Company Settings. We hope that by now you feel confident uploading your Logo and managing your Account Settings. If you have any questions please do not hesiatet to get in touch with us.
In the next Session we will cover how to create and import Inductions.