7 Company Policies
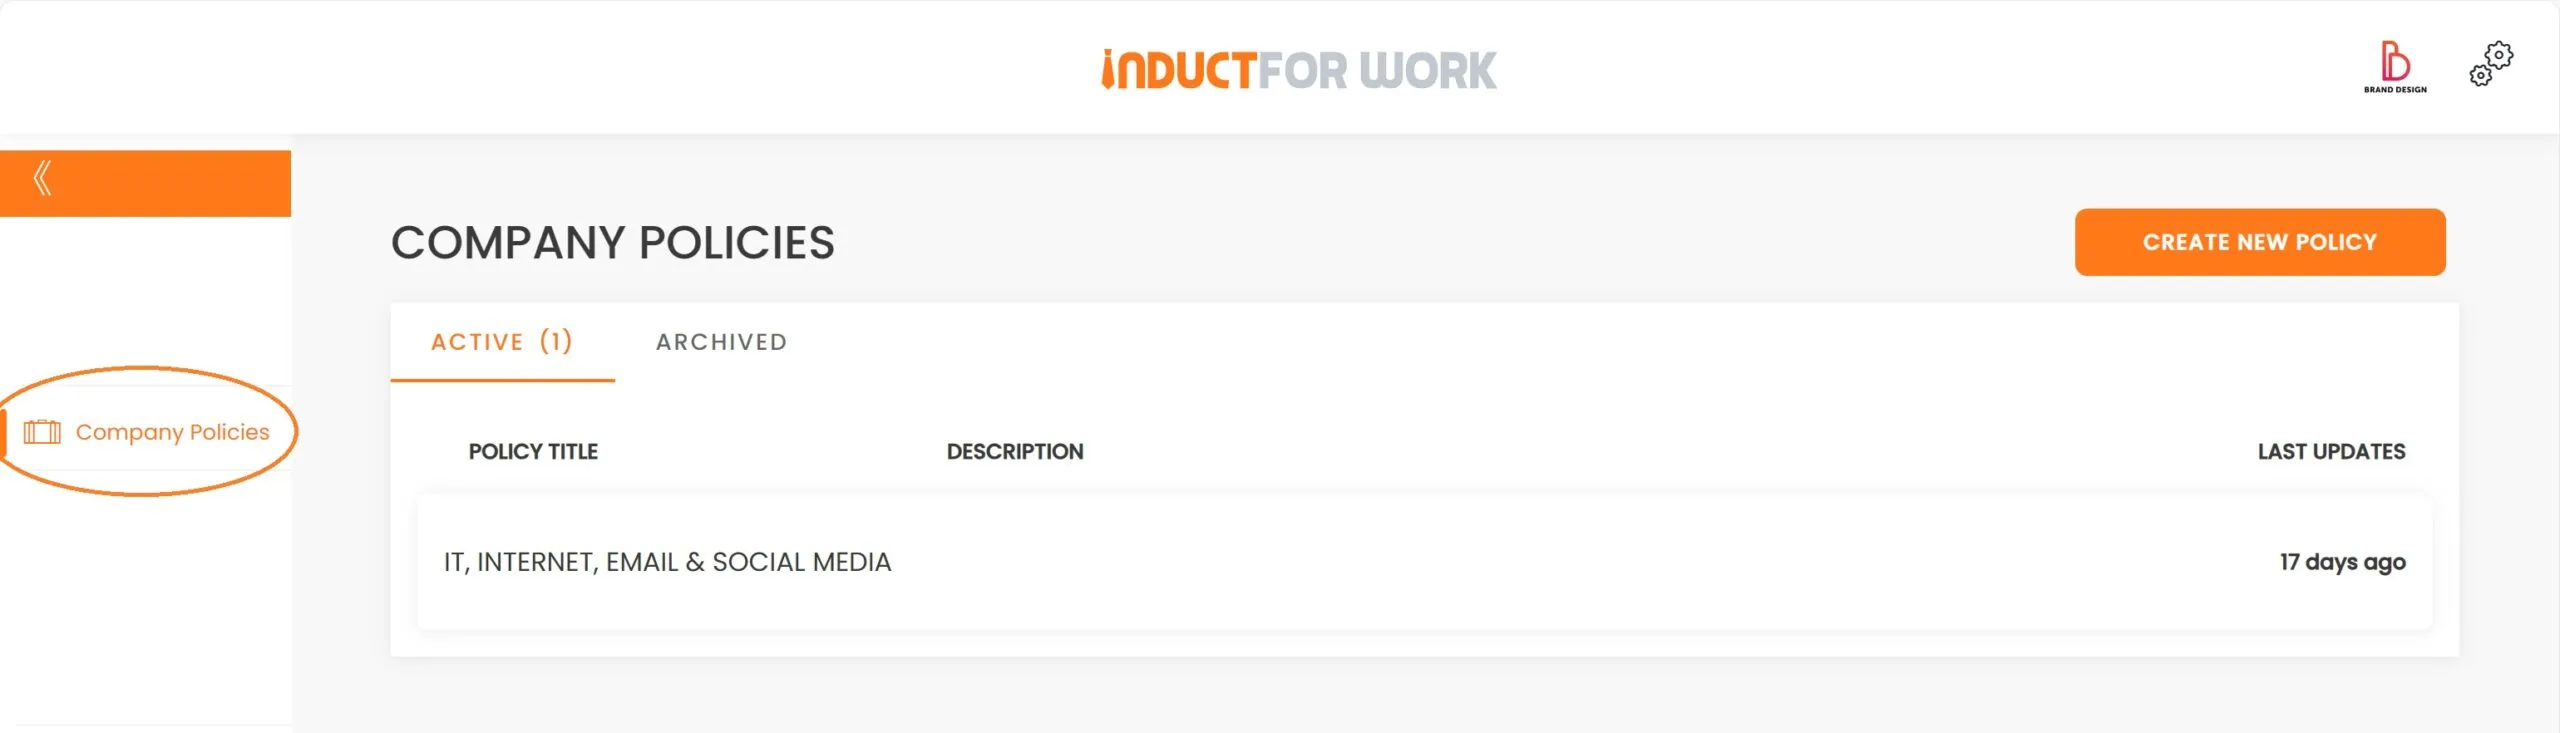
Most organisations need to incorporate their Company Policies and Safety Procedures into their induction courses. Let’s locate the click on Company PoliciesYou can access the area by clicking ‘Company Policies’ tab located to your left.
There are a number of ways to deliver your Policies:
1. You can dedicate a number of slides in your induction for your Policies, and when your inductees finish their induction, they must have viwed your policies before they completed their induction.
2. You can create individual company policies and make them mandatory for viewing in your inductions.
3. You can upoad your policies to Documents and Signatures (add on) area and get your inductees to digitaly sign your policies.
Let’s have a look at all the options starting with option#1, where we insert our Policies into Inductions.
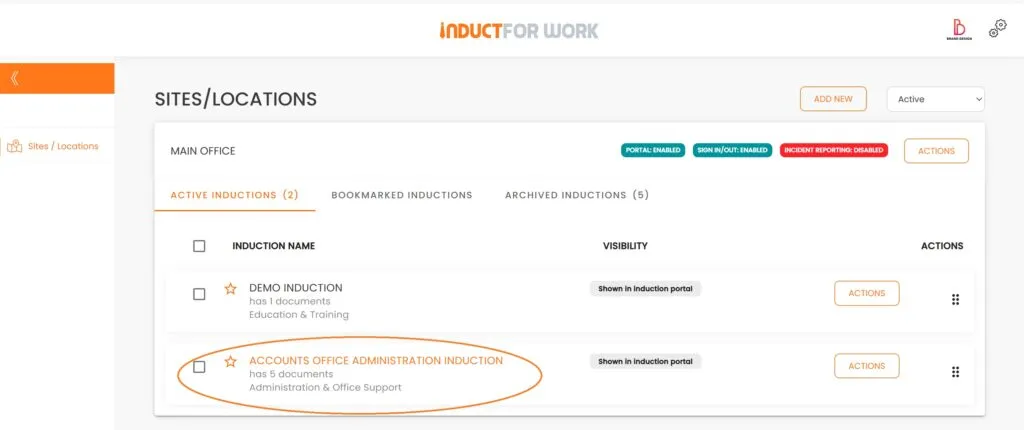
We will have to go back to one of our Inductions and click on them.
Now we are going to create a new page between slides 1 and 2.
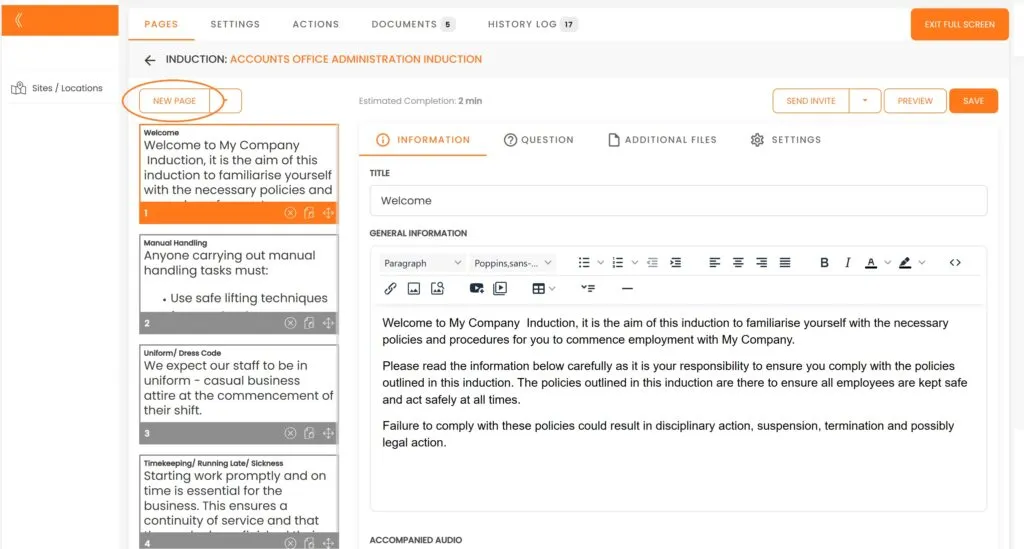
We are going to update the Title and then enter our Poilicy information into General Information area. Click ‘Save’.

Pros and Cons:
Pros: Easy to setup and update when running 1 induction, no extra functions are required.
Cons: Gets harder to update and keep track of information changes if same policies are embedded into multiple inductions and across multiple sites.
Option #2, Attaching policies to Inductions.
This time we will head to go ‘Company Policies’ to create a new policy.

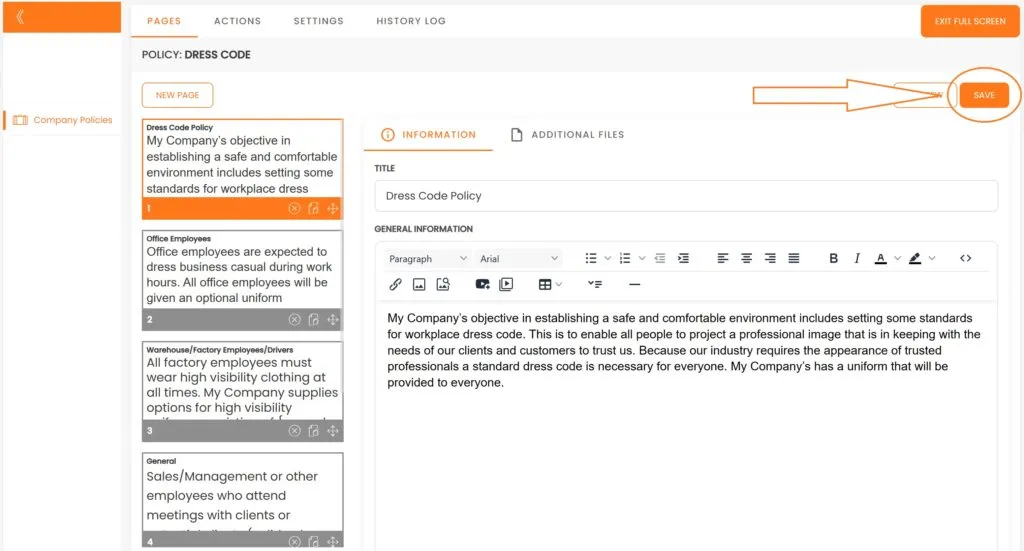
We are going to Create a new policy using a ‘Dress Code’ sample and then click ‘Save’.

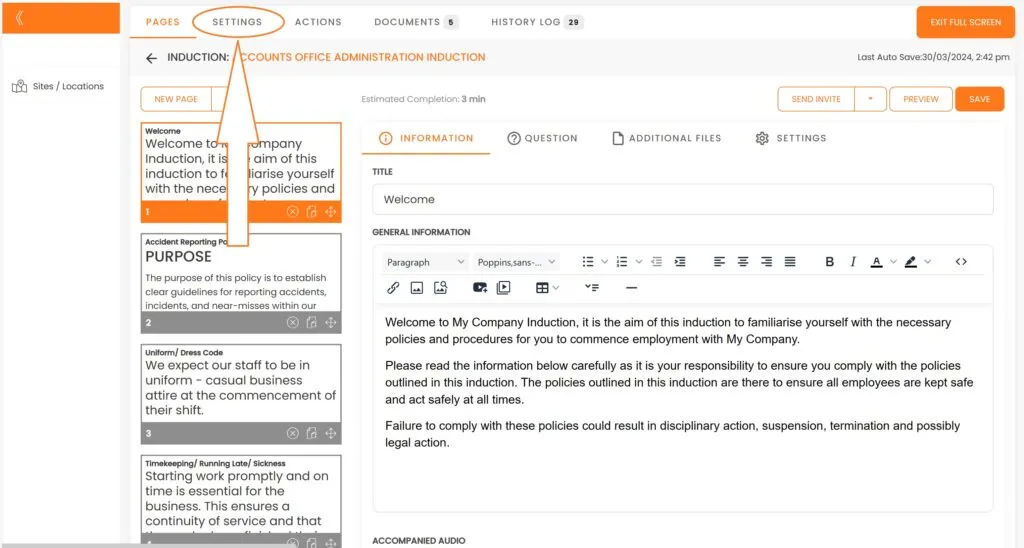
Now we need to head back to our Induction and click on Settings.
Now we are going to click ‘Force to View Policies’, select ‘Dress Code’ and click Save.
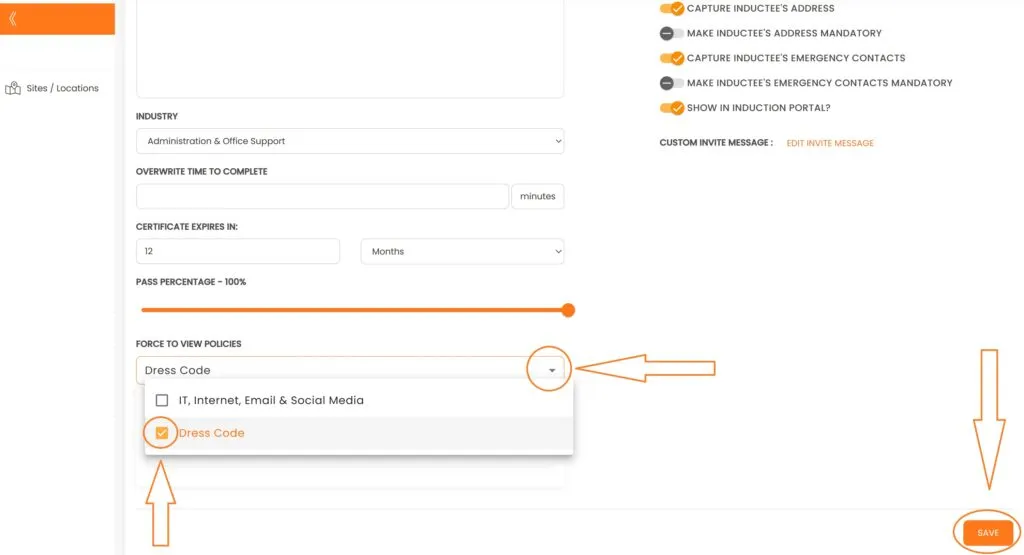
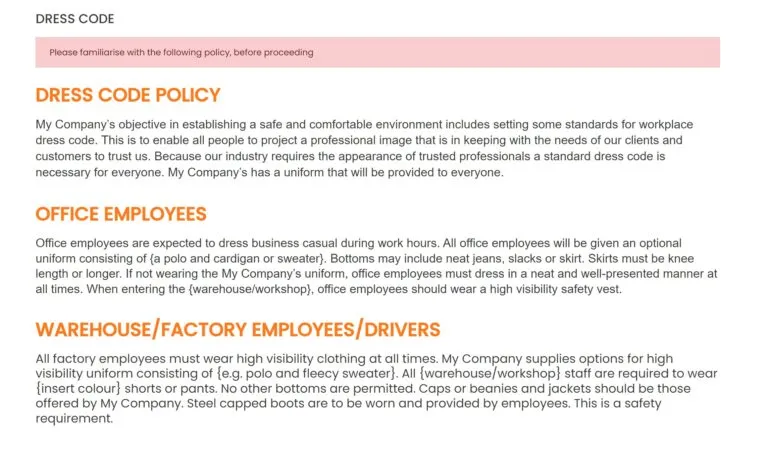
From now on all your users participating in ‘Accounts Office Induction’ would have to view your company ‘Dress Code’ policy. Let’s see what it will look like to your users.
Pros and Cons:
Pros: Easy to setup and update when running 1 or multiple inductions, no extra functions are required.
Cons: None
Option #3. Attaching policies to Documents and Signatures.
This option work best if you need to capture user Signatures as proof of their participation in your induction/onboarding process.
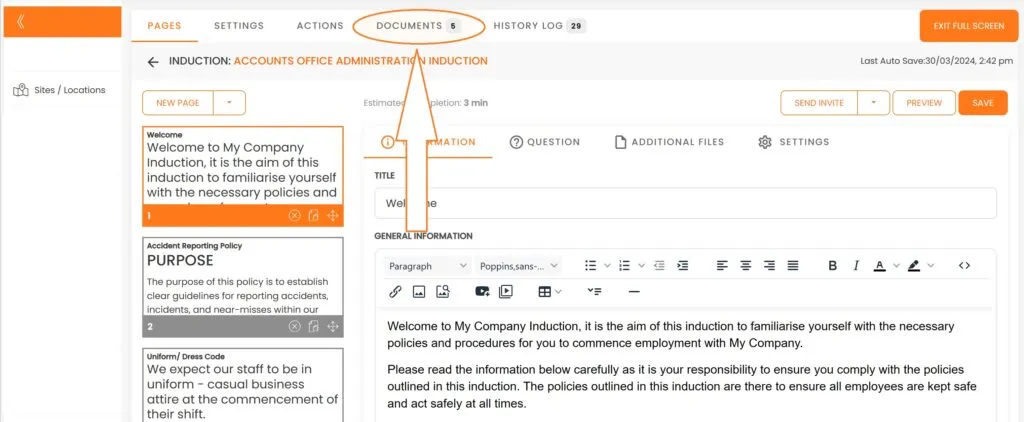
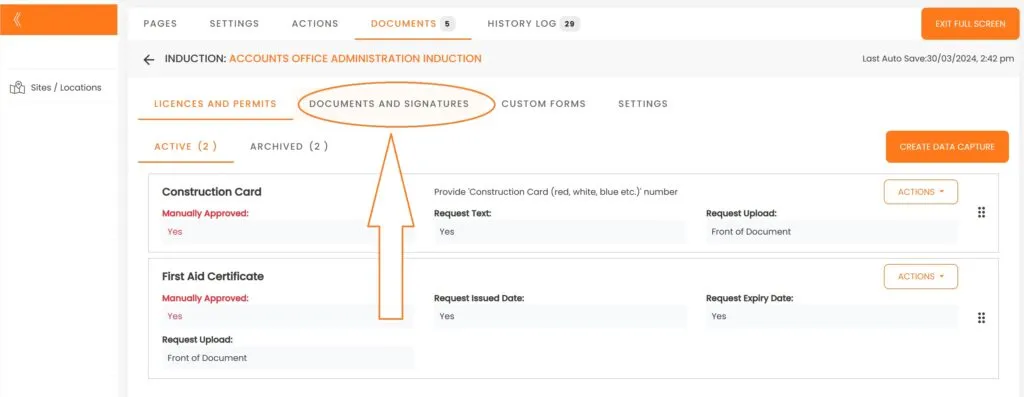
First you need to ensure that you have your policies in PDF format. Now we go to your Induction and click on ‘Documents’.
From here we go to ‘Documents and Signatures’.
And click on ‘Upload File’.
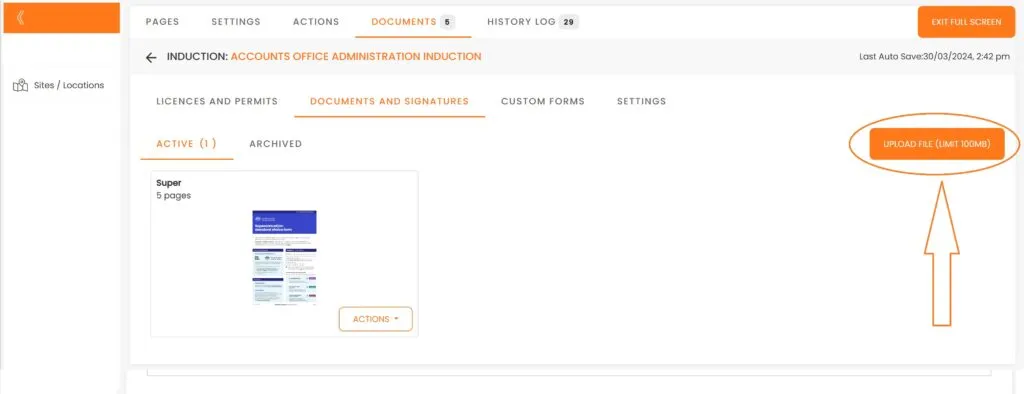
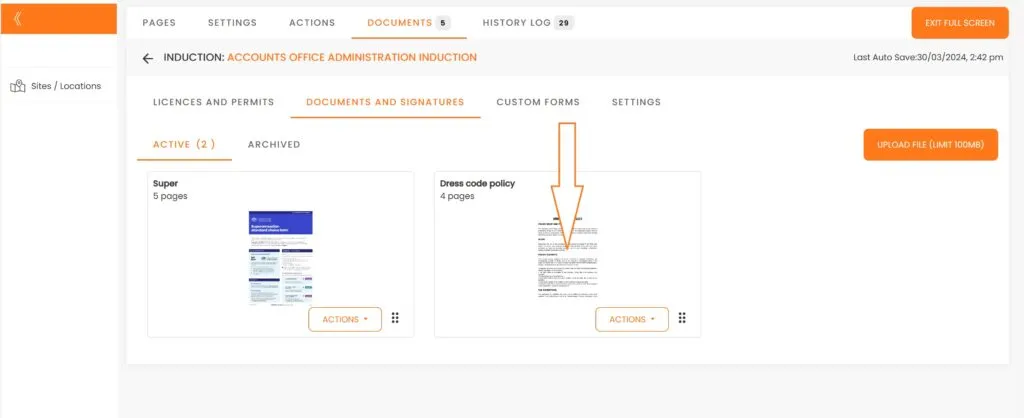
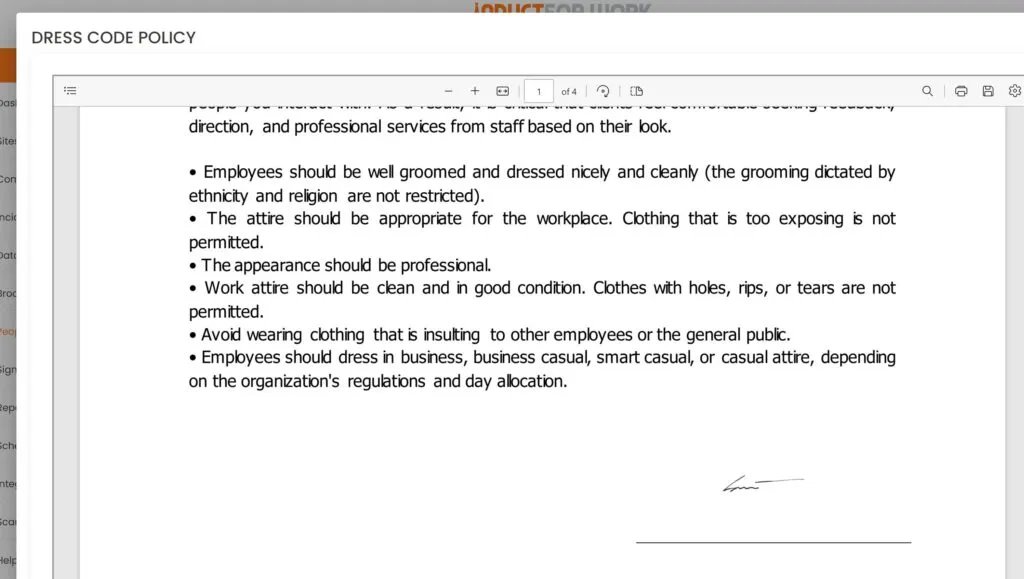
We upload our PDF Dress Code Policy and click on it.
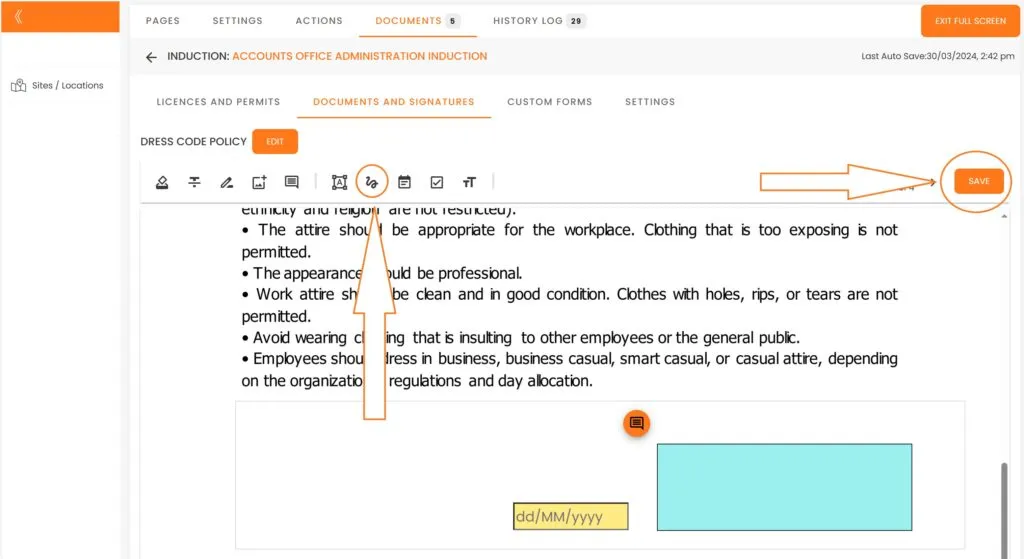
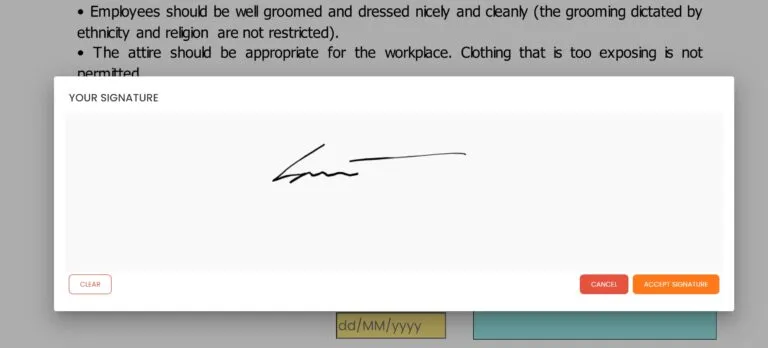
Click on Add Signature option, position it where appropriate, and click ‘Save’.
When your users finish their inductions they would be asked to fill out ‘Dress Code Policy’

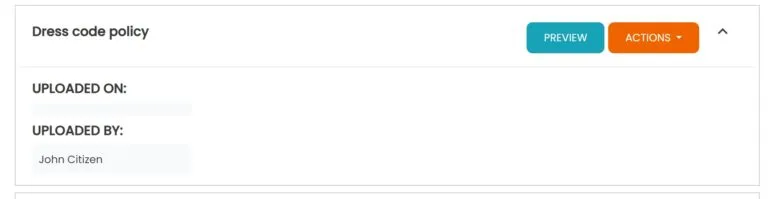
And once completed, you can preview and download this Document from user profile.
You can also integrate your account with more than 6,000 other apps and automatically send all captured Documents to your own Dropbox, OneDrive, Google Drive, Microsoft Office and so many other apps. We will cover account Integration in our later Sessions.
Pros and Cons:
Pros: Captures and stores digital Signatures on actual documents, alows to upload any pre-employment forms too, Removes unnesessary data handling when integrated.
Cons: Requires intermediate experience to setup, costs around $40 -$50 + gst extra per month.
This brings us to the end of session #7 on Company Policies. We hope that by now you feel confident creating and managing Company Policies. If you still feel uncertain – please get in touch with us and we will happily take you through any obstacle.
In the next Session we will cover how to create and manage Induction Portals.

Can’t find the answers you are looking for? – Contact us